

The year is almost over, Xmas looms in a couple of days and I have a bit of time on my hands.
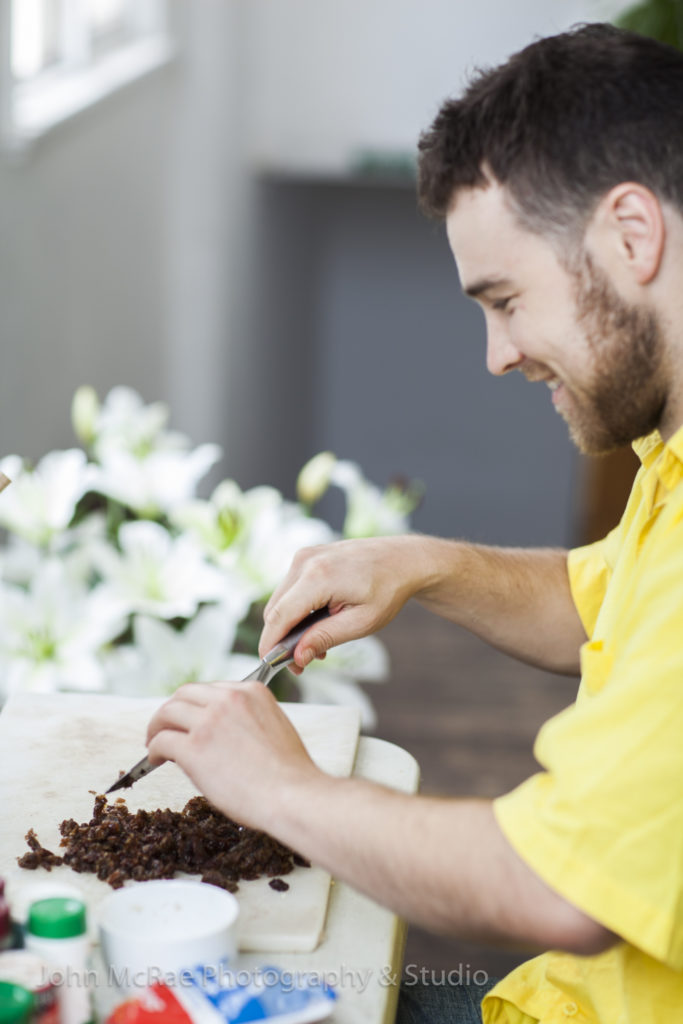
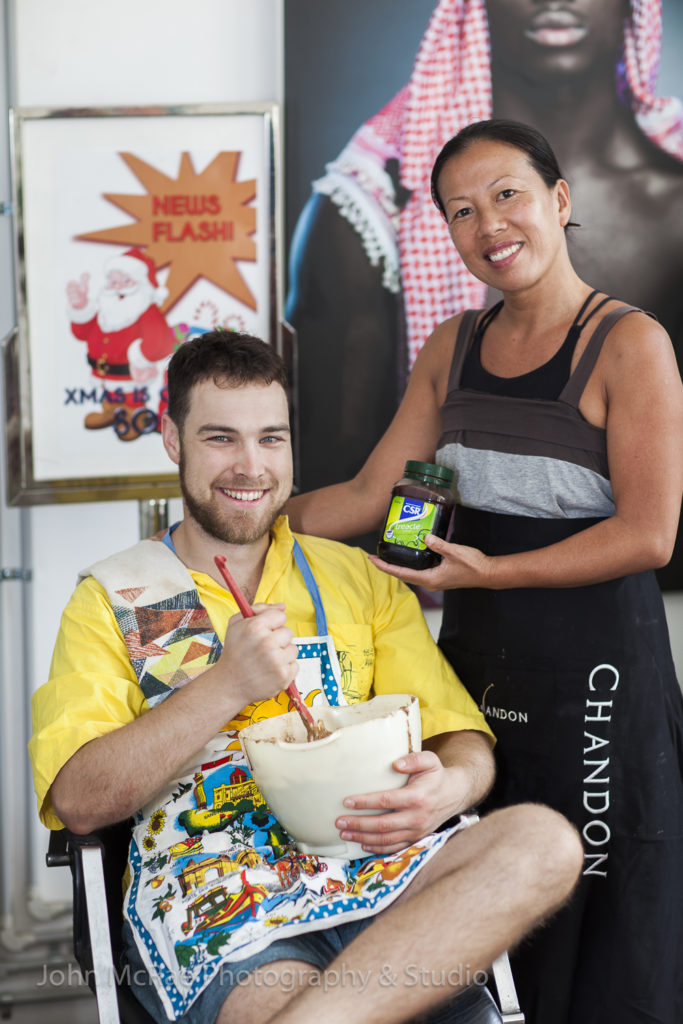
Yesterday I made the annual Xmas pudding. I enlisted the help of my Tasmanian friend, Rob, who dropped in to pay his respects. We both set about creating the 2019 version of my mother’s Xmas pudding.
I thought it may be a nice idea to share the recipe on my blog page, together with a pictorial explanation of the necessary steps. Rob agreed to be photographed for the exercise.

Ingredients:
- 6 Table spoons of Butter
- 2 Small Cups of Brown Sugar
- 2 Eggs
- 3 Cups of flour
- 1 Cup of Sultanas
- 1 Cup of Raisins
- 1 Cup of Mixed Peel
- 1/2 Cup of Currants
- 2 Oz Blanched Almonds
- 2 Tsp Bi-Carbonate of Soda
- 6 Tsp Mixed Spice
- 2 Tsp of Cinnamon
- 1 Tsp of Nutmeg
- 1 Tsp Ginger
- Pinch of Salt
- 1 Tablespoon of Treacle
- Vanilla Essence
- Essence of Brandy or in fact Brandy. You choose
- 4 Tablespoons of Apricot Jam
- 1/2 Cup of Orange Juice
Additional notes on ingredients: I don’t add the orange juice in my version of mums recipe….doesn’t make sense to me. I also add prunes to the mix. Cut up quite finely of course. I also put in 3 eggs, rather than 2….creative license. You can add and substitute different fruits, such as glazed cherries (I don’t like them), apricots, pears….etc.
Actually you can take quite a bit of creative license with a plum pudding…..it’s not like the delicate sponge, souffle or cream puff, where too much variation may result in tears. So feel free to add your own personal touch whatever that may be…..
Procedure:
Gather all the ingredients….
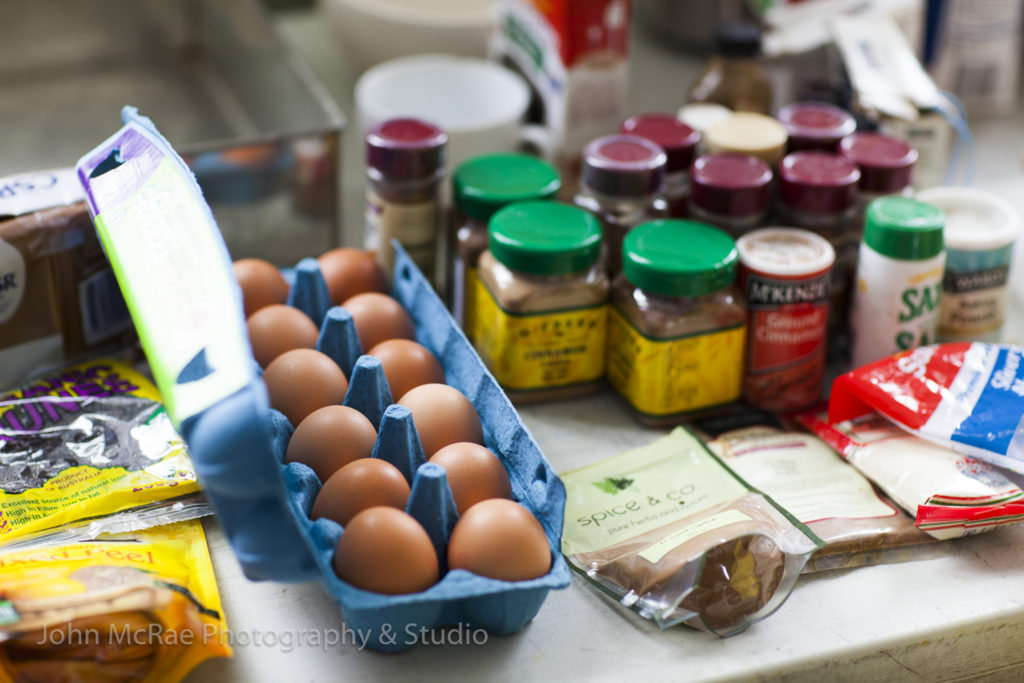
Prepare the fruit: Measure it out, chop where necessary and put it all into a large bowl
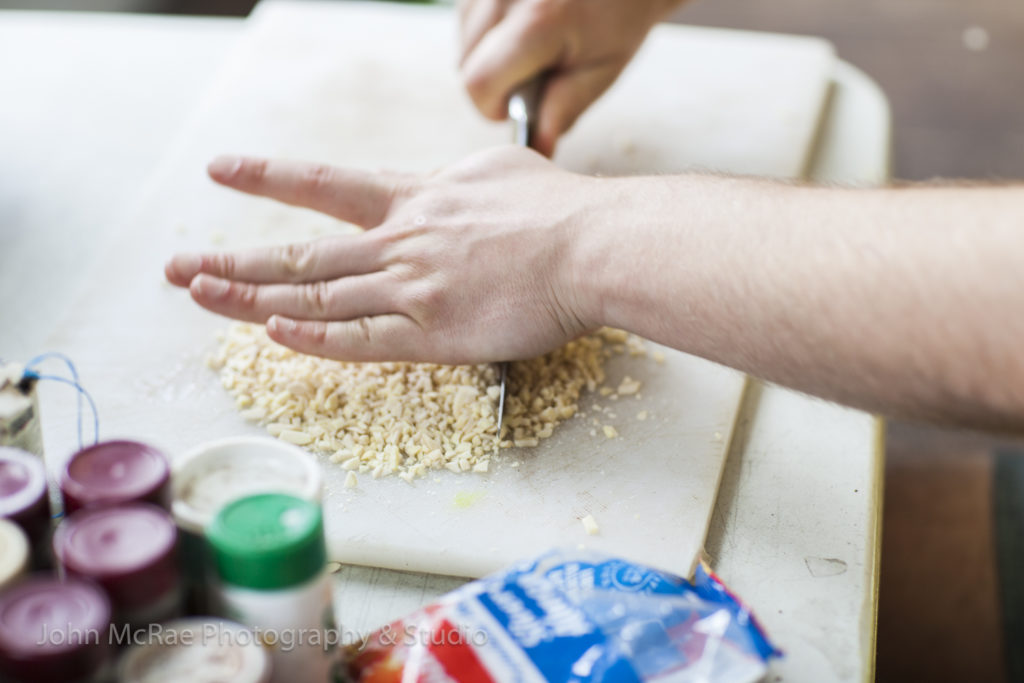
- Almonds need to be cut up into smaller pieces


- Sultanas don’t need to be cut…put them in the bowl directly
- Currants are already very small so no cutting required
- Raisins should be cut into thirds (in my opinion)


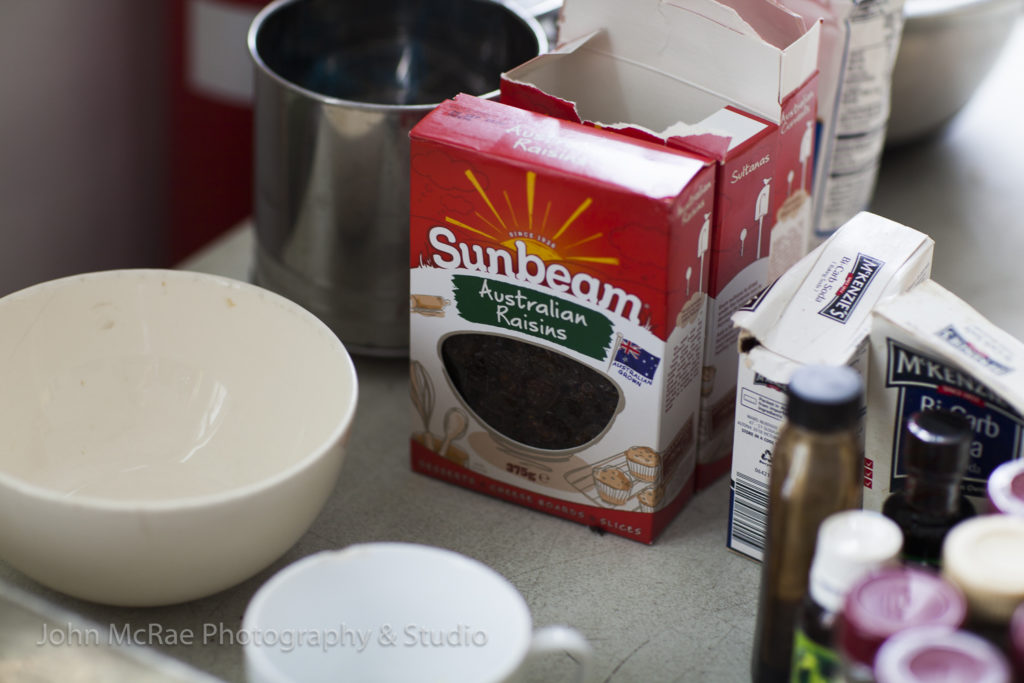
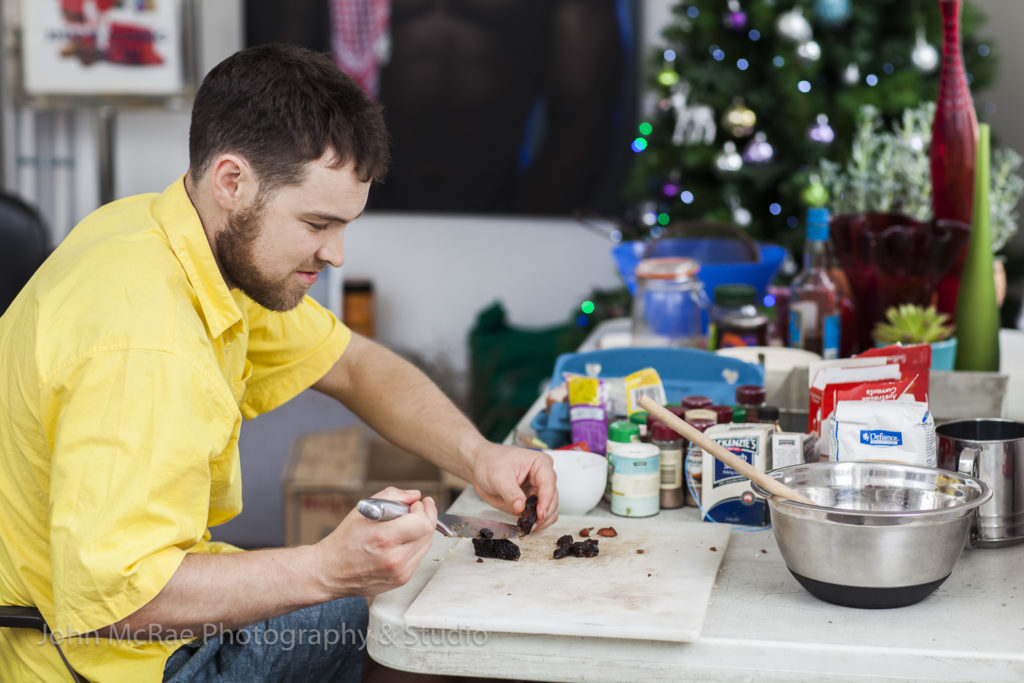
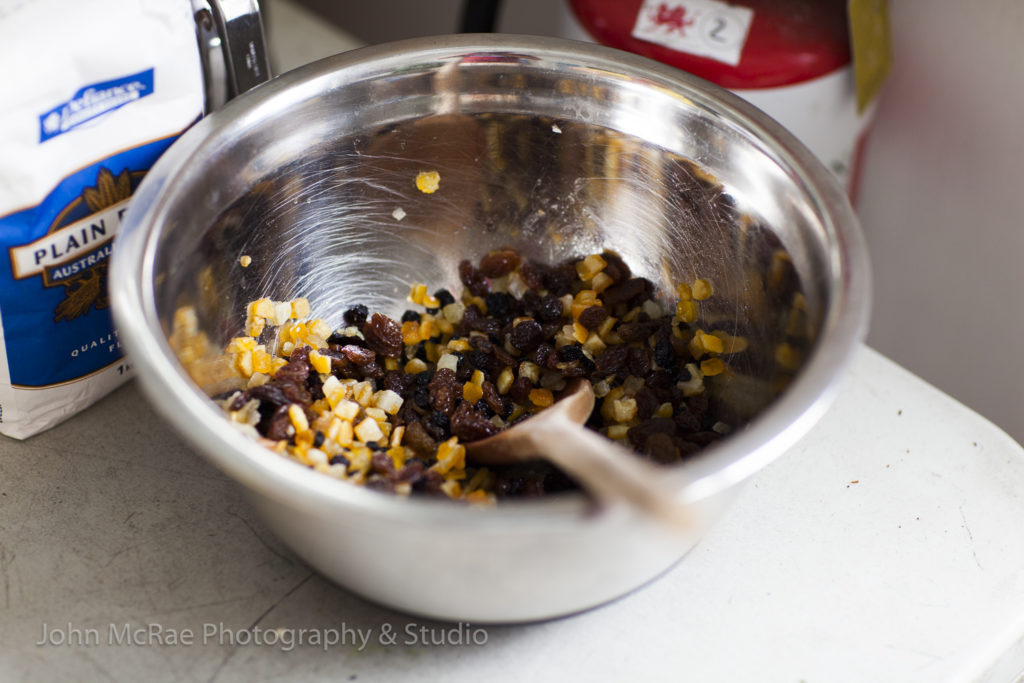
- put all the fruit together in a bowl and mix
- essence and or alcohol can be added at this stage to the fruit
- Some recipes advise soaking the fruit for a day or two in the alcohol/essence before preparing the rest of the pudding. But who has 2 days to spend on making a plum pudding?
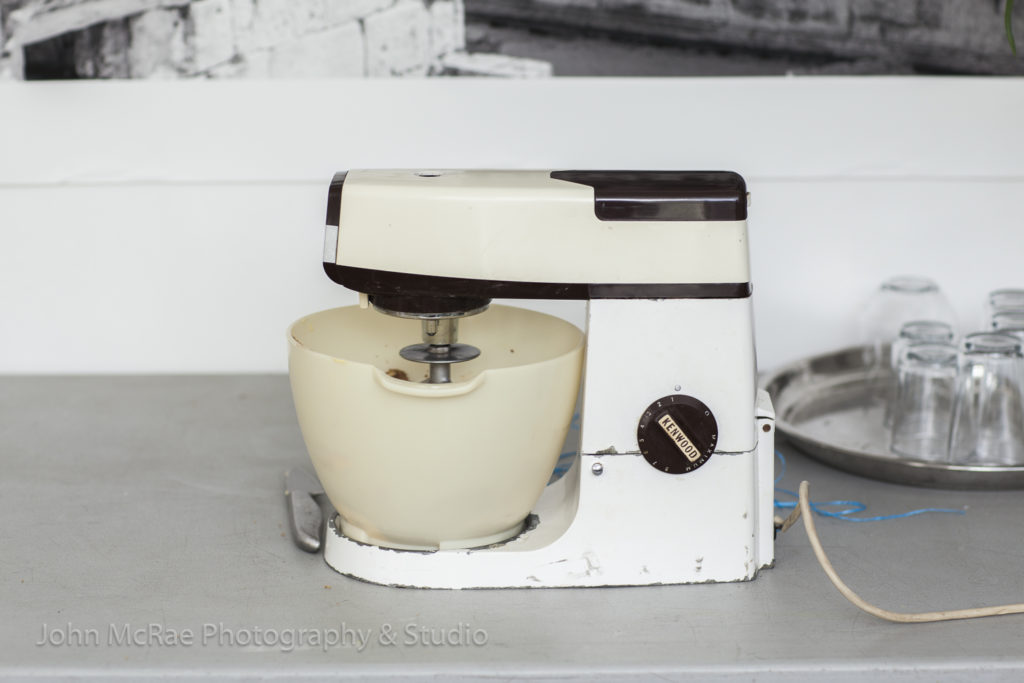
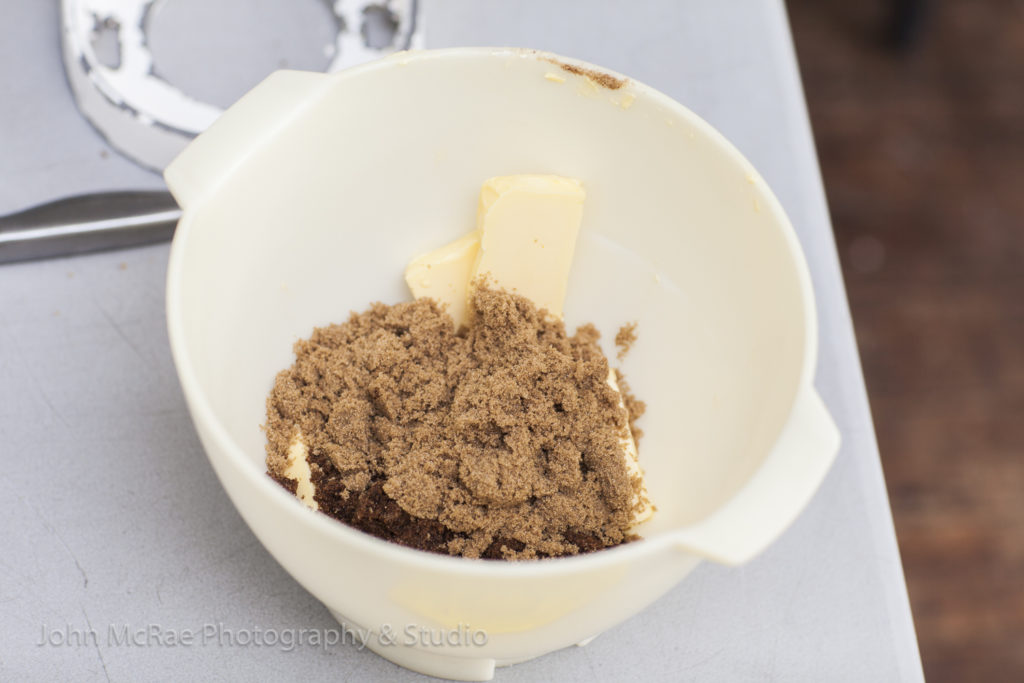
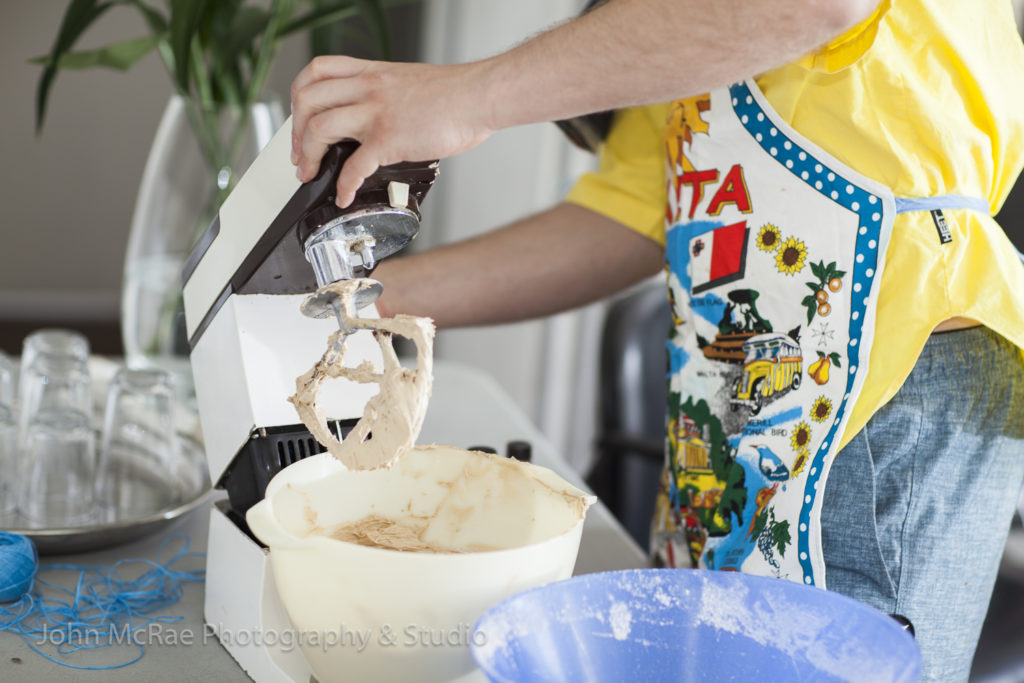
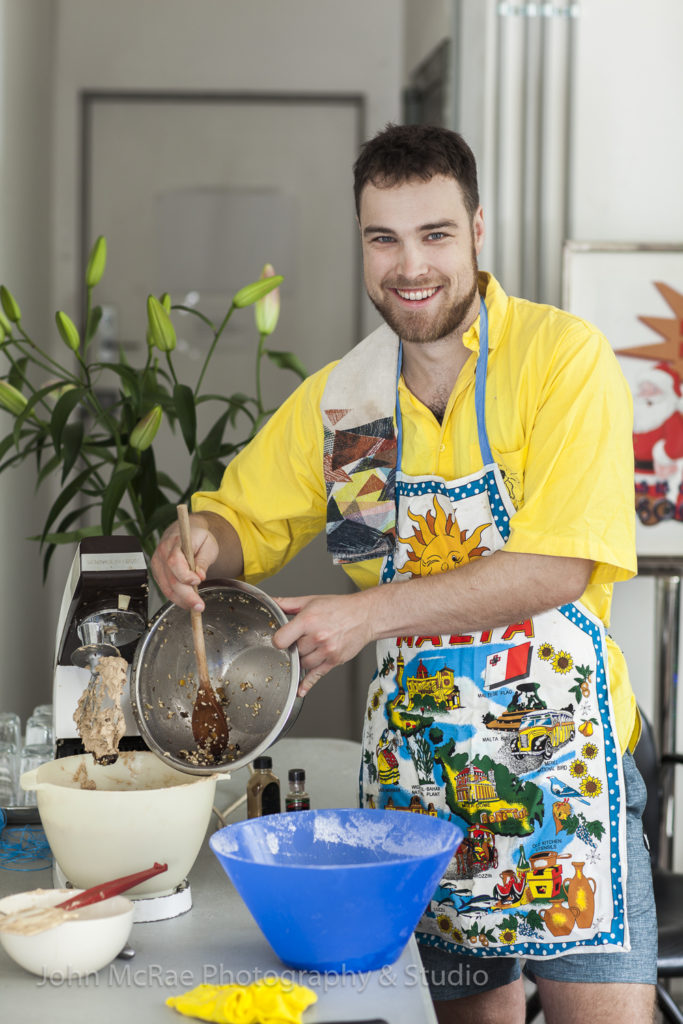
Beat the butter and sugar in a bowl, either with your hand, wooden spoon or in a mix-master type beater. See pic below: The butter and sugar is beaten until the consistency becomes homogenous and creamy….in fact one says, “cream the butter and sugar”.
Next: Add the eggs Note…..the eggs should be added at room temperature. Take them out of the fridge well before (if you keep your eggs in the fridge). I put the eggs in a bowl and beat them a little first before I put them in the pudding mixture. I add half the quantity of eggs and stir them until they are blended into the mixture….I then add the rest of the eggs and beat them similarly.
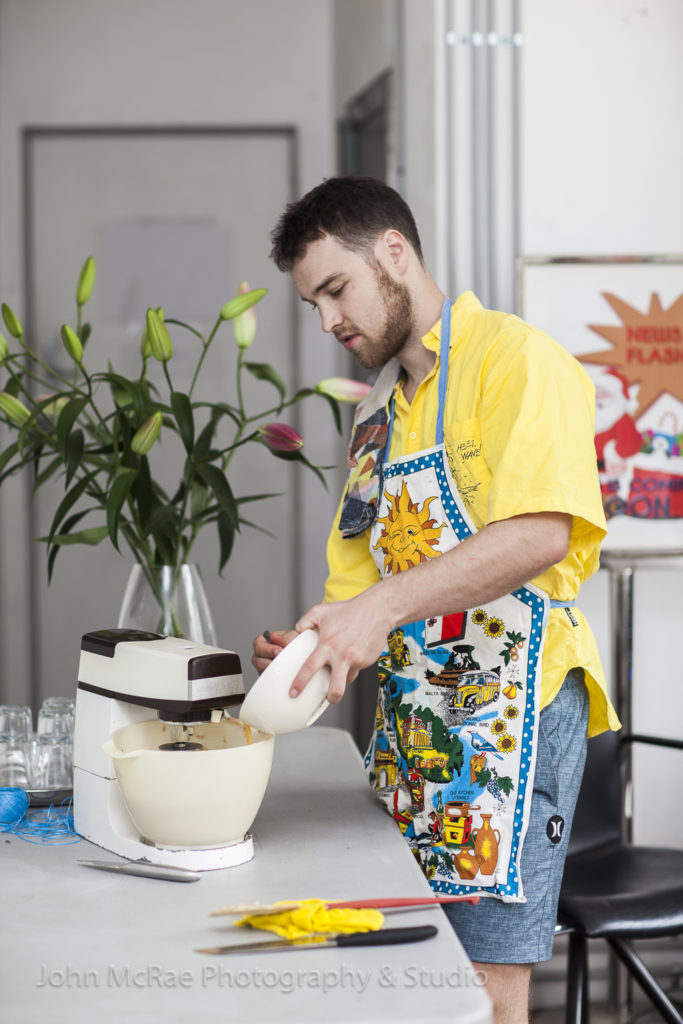
At this point you can add the vanilla essence….a couple of tea spoons.

We’re up to the mid point of the process….the adding of the dry ingredients and the fruit.
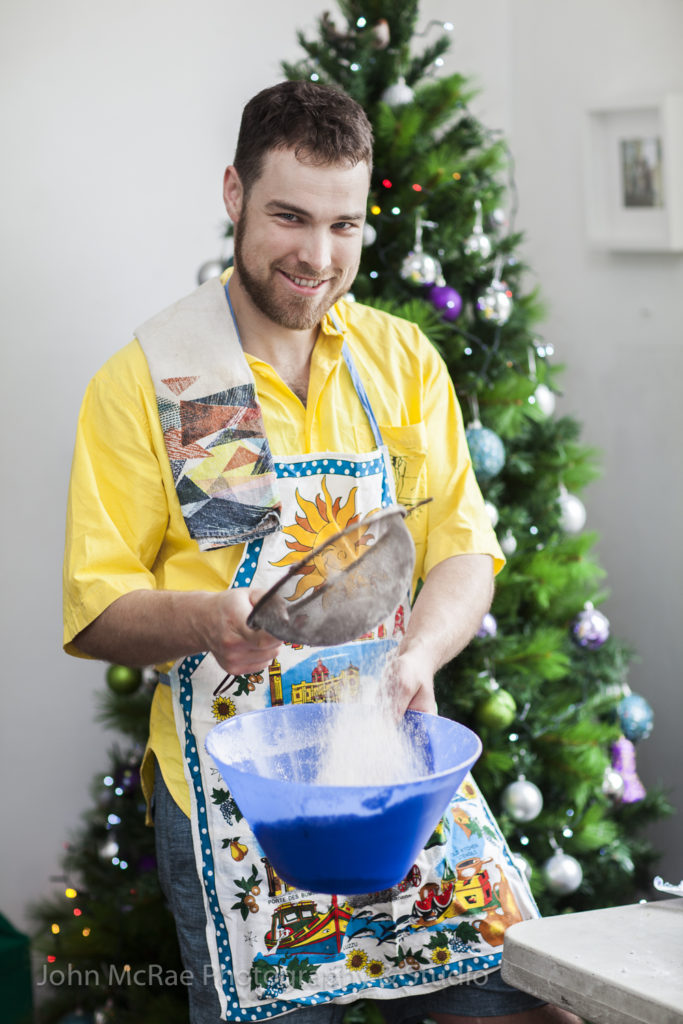
Make sure you sift all the dry ingredients together before you add them to the mixture….see pic below.
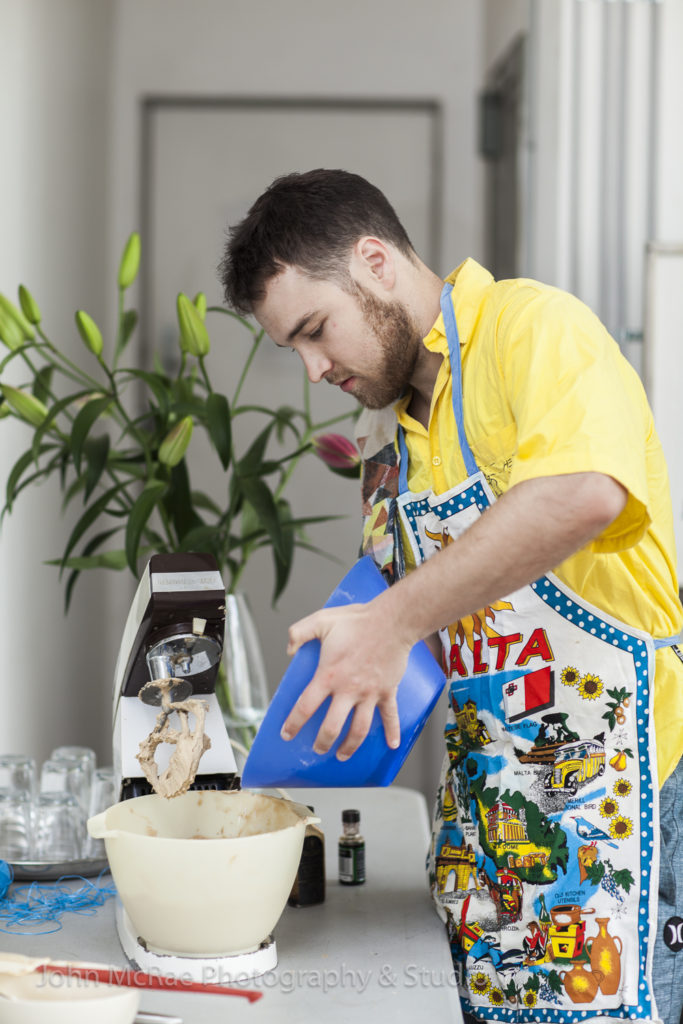
Add the flour…..about half the quantity. Once that is well combined into the mixture you then add around half the quantity of fruit. When the fruit is mixed in you may add any alcohol or essence that you decide to put in for extra flavour. You repeat the process until all the dry ingredients and fruit are combined.
For this process you can shed the electric mixer and use your hands or a wooden spoon to hand mix the flour and the fruit. Some die-hards would never use the electric beater….they feel you get a better result if hands or a wooden spoon are enlisted. I’ll leave it up to you.


Lastly, once all the ingredients so far have been successfully stirred together, you add the final ingredients, being, the treacle and the apricot jam. A note: these two things are optional, in my opinion. I do add them but if you chose not to….it’s not like you going to ruin your pudding. It will still be a good pudding.
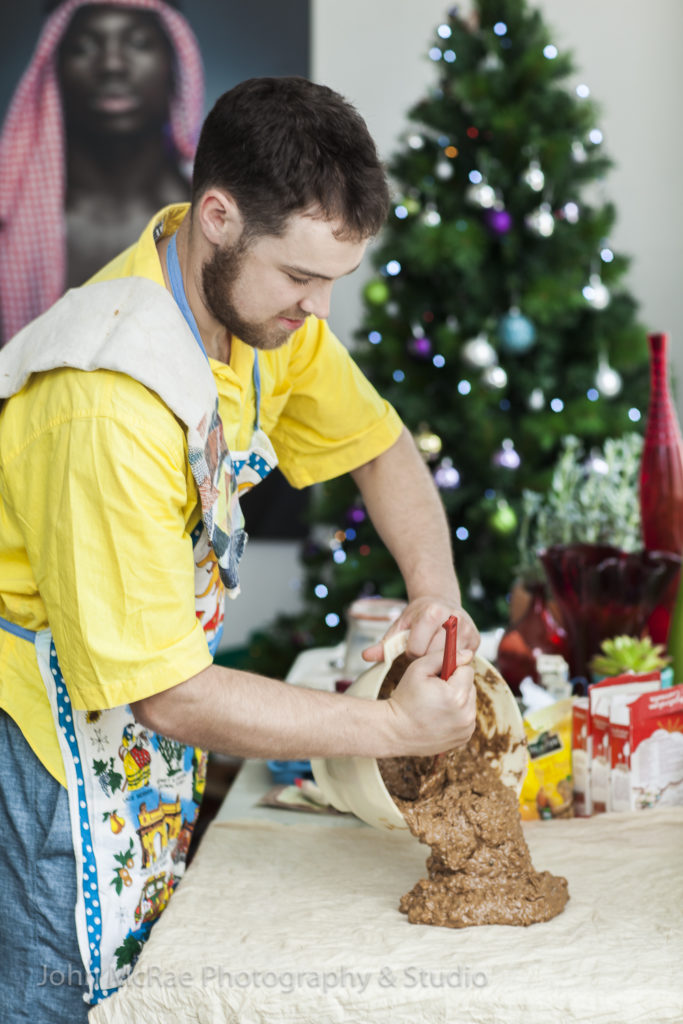
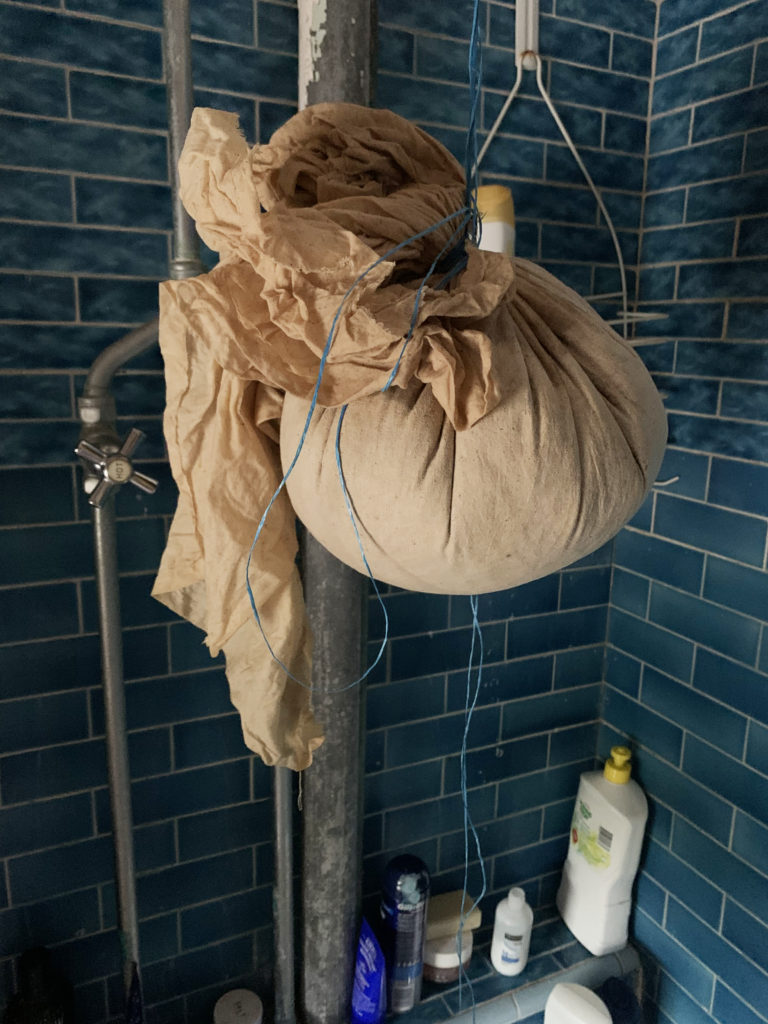
Finally, it’s time to pour your pudding mixture into the centre of a square piece of calico. The calico is pre-cut and also soaked in cold water. Wring out any excess water from the calico….pour out the mixture….then gather the rag and form a closure, a bit like a “money bag”. Make sure all the sides of the rag are gathered together and you haven’t missed a bit.
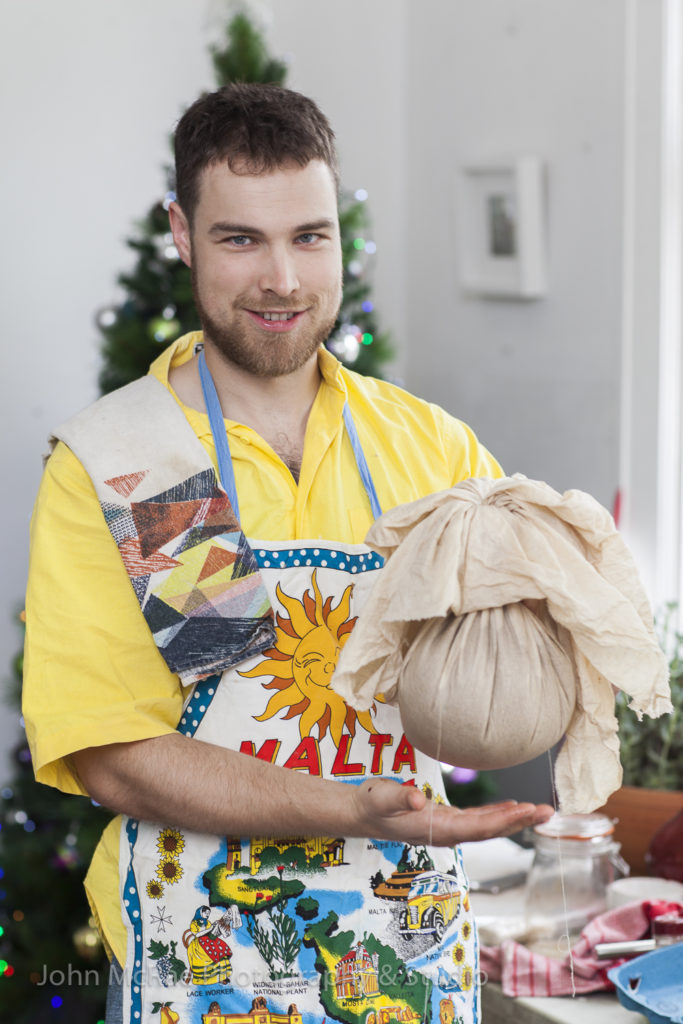
Then tie off the top of the rag with string . Make sure you tie it well….go around several times and tie it off several times. Don’t be stingy on the length of the string….hopefully there will be a good bit of it left after tying which can be used to hang the pudding.
Important….leave a bit of space at the top between the mixture and the level of the rag you tie off…..that is, allow a bit of space for the pudding to expand in the rag…it will.

Now you need to boil your pudding. Gently lower your pudding into a pot of boiling water. Make sure your water is boiling on the stove and that your pot is big enough to comfortably accommodate the size of your pudding.
Boil your pudding for approximately 3 – 4 hours. It’s a bit of a process because you can’t really leave it during that time. You will need to keep an eye on the water level….continually topping up so your pudding doesn’t boil dry.
Note also….put a small saucer at the bottom of pot so that your pudding is not sitting directly on the bottom, but cushioned from direct contact with the heat.
At the end of 4 hrs take your pudding out of the hot water. It is now ready to eat…..un-peel the calico and serve with fresh cream or brandy sauce.
Or…..as it usual, you eat your pudding at a later date. Hanging the pudding for a period of time is suggested as it allows all the flavours and spices to penetrate the whole pudding. Some people hang theirs for months.
A “hung pudding” will require re-heating. Although the pudding is cooked when you go to re-heat it you will need to re-place it into a pot of boiling water, as before. In order to re-heat the pudding thoroughly you will need to leave it for at least 2 hours….for the heat to really penetrate the mass of the object. The water should already be boiling when you add the pudding.
You can cheat and take it out of the rag, cold and put cut pieces in the micro wave….this is not as dramatic and nowhere near a nice. But go ahead…..
So that’s it! That’s one version of a plum pudding recipe. Let me know how you go.

Lastly…….